

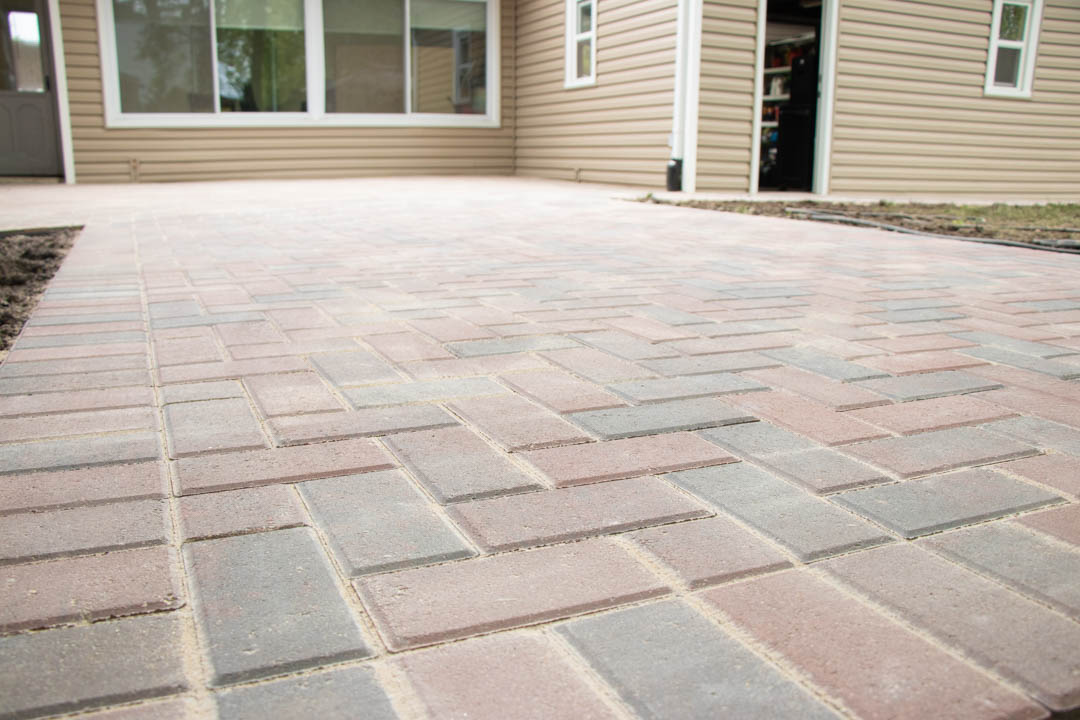
Why Pavers?
When it comes to choosing a pavement surface that combines beauty,
strength, color, texture and durability. It’s hard to look any further than
interlocking brick pavers. Brick pavers are the perfect answer for
driveways, walkways and patios. The wide range of styles and shapes gives the design
flexibility to create the most imaginative layouts and patterns. The vast choices of
vibrant colors open the possibilities to match virtually any color scheme that any
homeowner can dream of.
Eco Friendly & Cost Effective
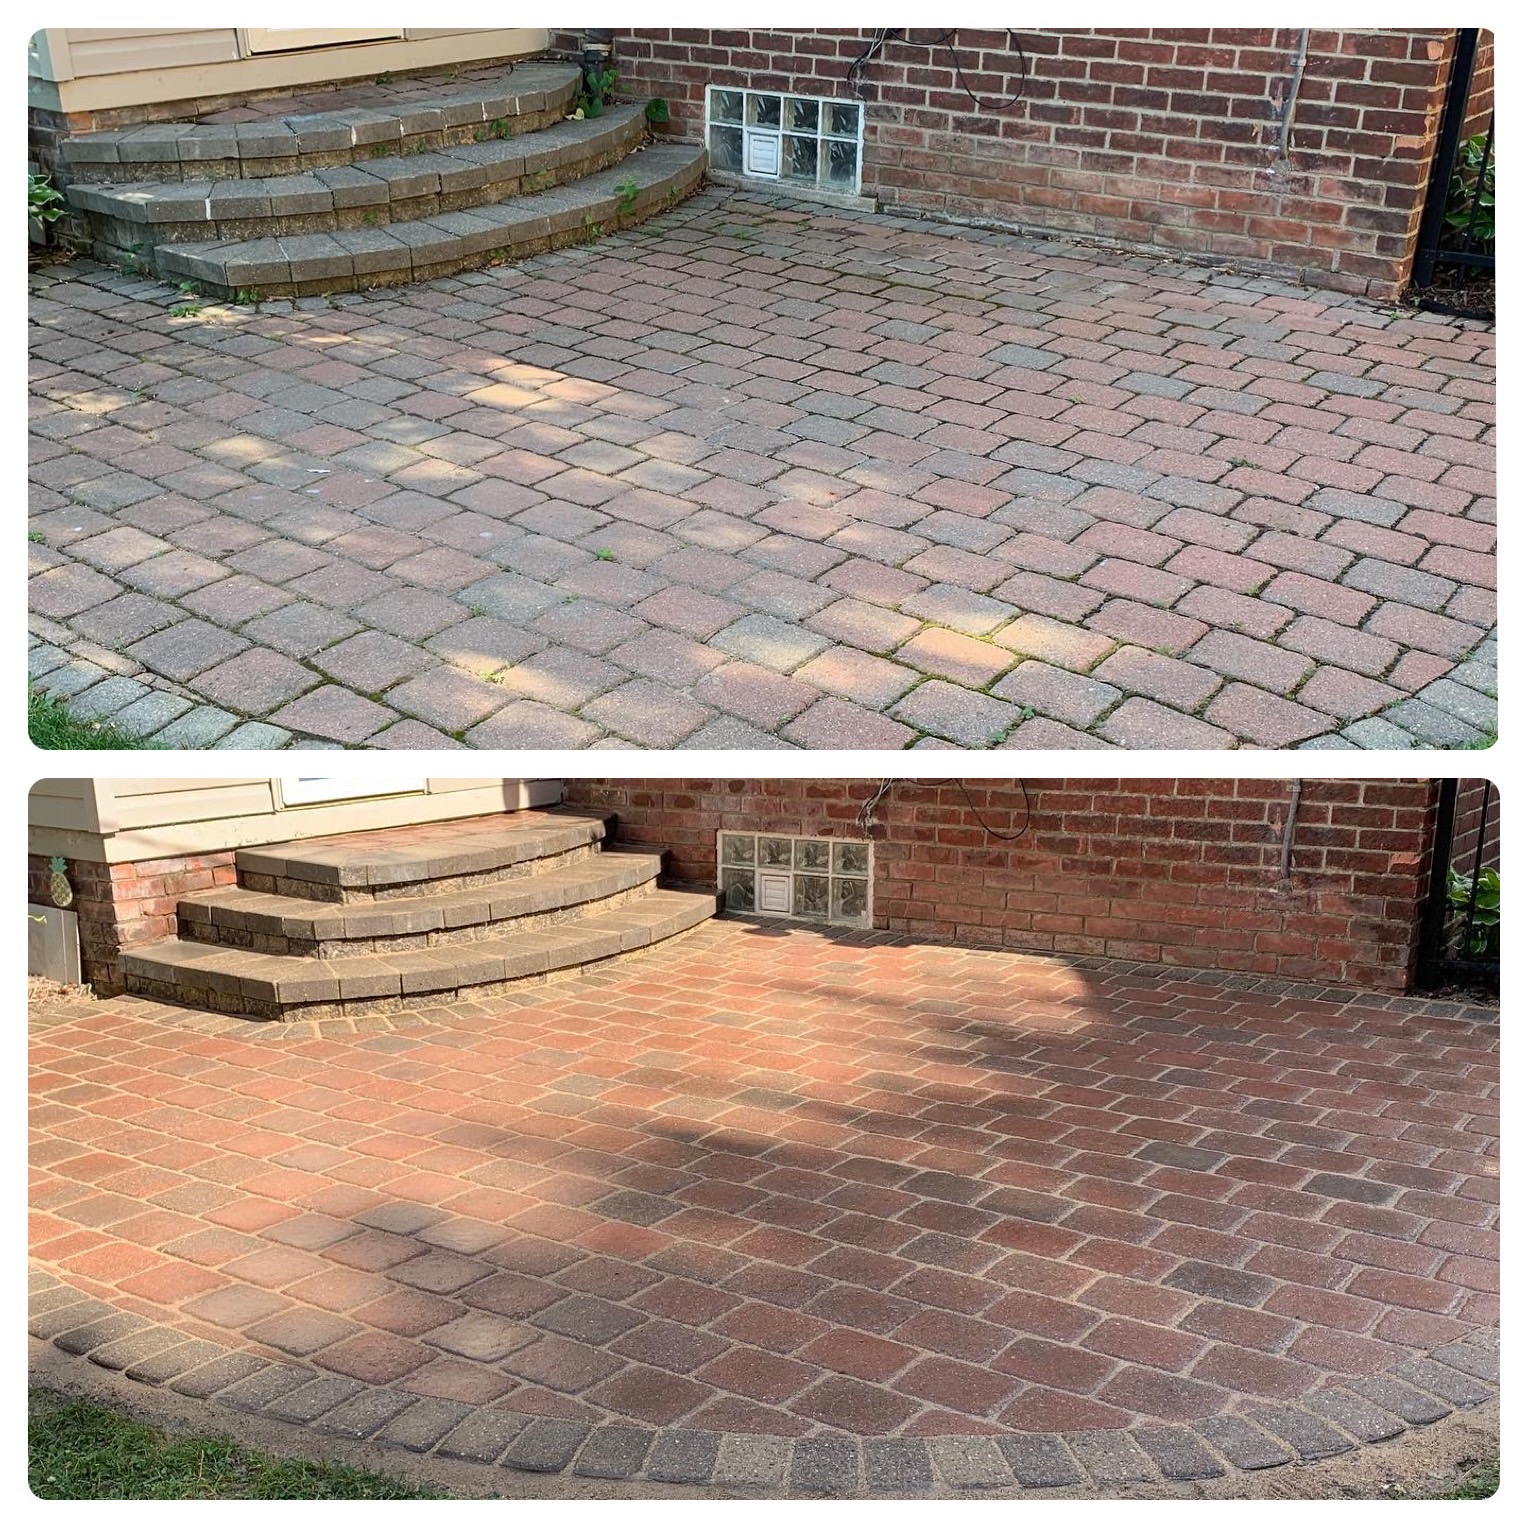
All things considered, brick paver projects have the lowest life-
cycle costs when being compared to traditional concrete projects. Pavers are a great alternative to concrete because pavers can be reused in the future and reset with a new base. Pavers do tend to cost more than concrete, but the value for homeowners really kicks in when it comes time to re-level your pavers in 10-15 years. Replacing concrete costs a lot more than re-leveling existing pavers.
Concrete on the other hand will eventually crack, which means new materials and reinforcement steel will need to be purchased again.
The minimal
maintenance over the lifetime of a brick pavement project far exceeds the idea of
having to replace concrete slabs every “X” amount of years. The concept of having
a strong enough base beneath the brick paver is what results in longevity and a
low maintenance project. When discussing modern day paver patios and
driveways, the process should be fulfilled by trained professionals with ample
experience. The cost benefit analysis of paver patios is impacted tremendously in
a negative way when the project is not installed correctly, the first time. When
the project isn’t fulfilled by a reputable contractor, the already costly project can
become an even larger cost to project doers when not selecting the most
qualified contractor. “It’s The Brick Guys” is committed to delivering a structurally sound project that
not only looks great, but is rather low maintenance.
Rule of Thumb: Paver Base
The minimum base thickness over well-drained soils (base gravel), after compaction, is:
4”-6” for residential walks and patios
6-8” for pool decks
8-12” for residential driveways
(For each 100SqFt of base area)
The following tons of material will be needed/thickness shown:
• 4” thick = ~2 tons
• 6” thick = ~3 tons
• 8” thick = ~4 tons
• 12” thick = ~6 tons
21AA crushed limestone is 100% natural stone that is crushed down to < 1’’.
This type of stone should be used for brick paver projects and is a prominent variable for a
successful project. There are several different types of base materials that
contractors use, however, 21AA crushed limestone is vital for longevity. Compaction is the process of
pushing all the base particles closer together by squeezing out the air and moisture to increase the
density of the base. Compaction is a very important step of the overall project and to achieve
good compaction, you must use the type of compaction machine that provides the proper
force, amplitude, and frequency. Installing the base must be installed and compacted in even layers to
ensure maximum density.
Where will the water go?
After the 21AA base is installed, the next step is to form the slope (water run off). The slope must create a natural water runoff that reroutes water away from the pavers and home.
The slope will be formed using 2ns sand throughout the entire top surface of the
21AA stone base. This sand will endure the same compaction process as the 21AA stone.
Depending on the physical location of the paver install, on average, there should
be a ½ inch slope for each 4 feet of pavers. Once the base and sub-paver sand is installed
and calibrated, it is now time to start laying down the brick pavers. Pavers should
be laid starting in the corner or near a straight edge. This will help ensure that
each paver is laid symmetrically and has a consistent water pitch.
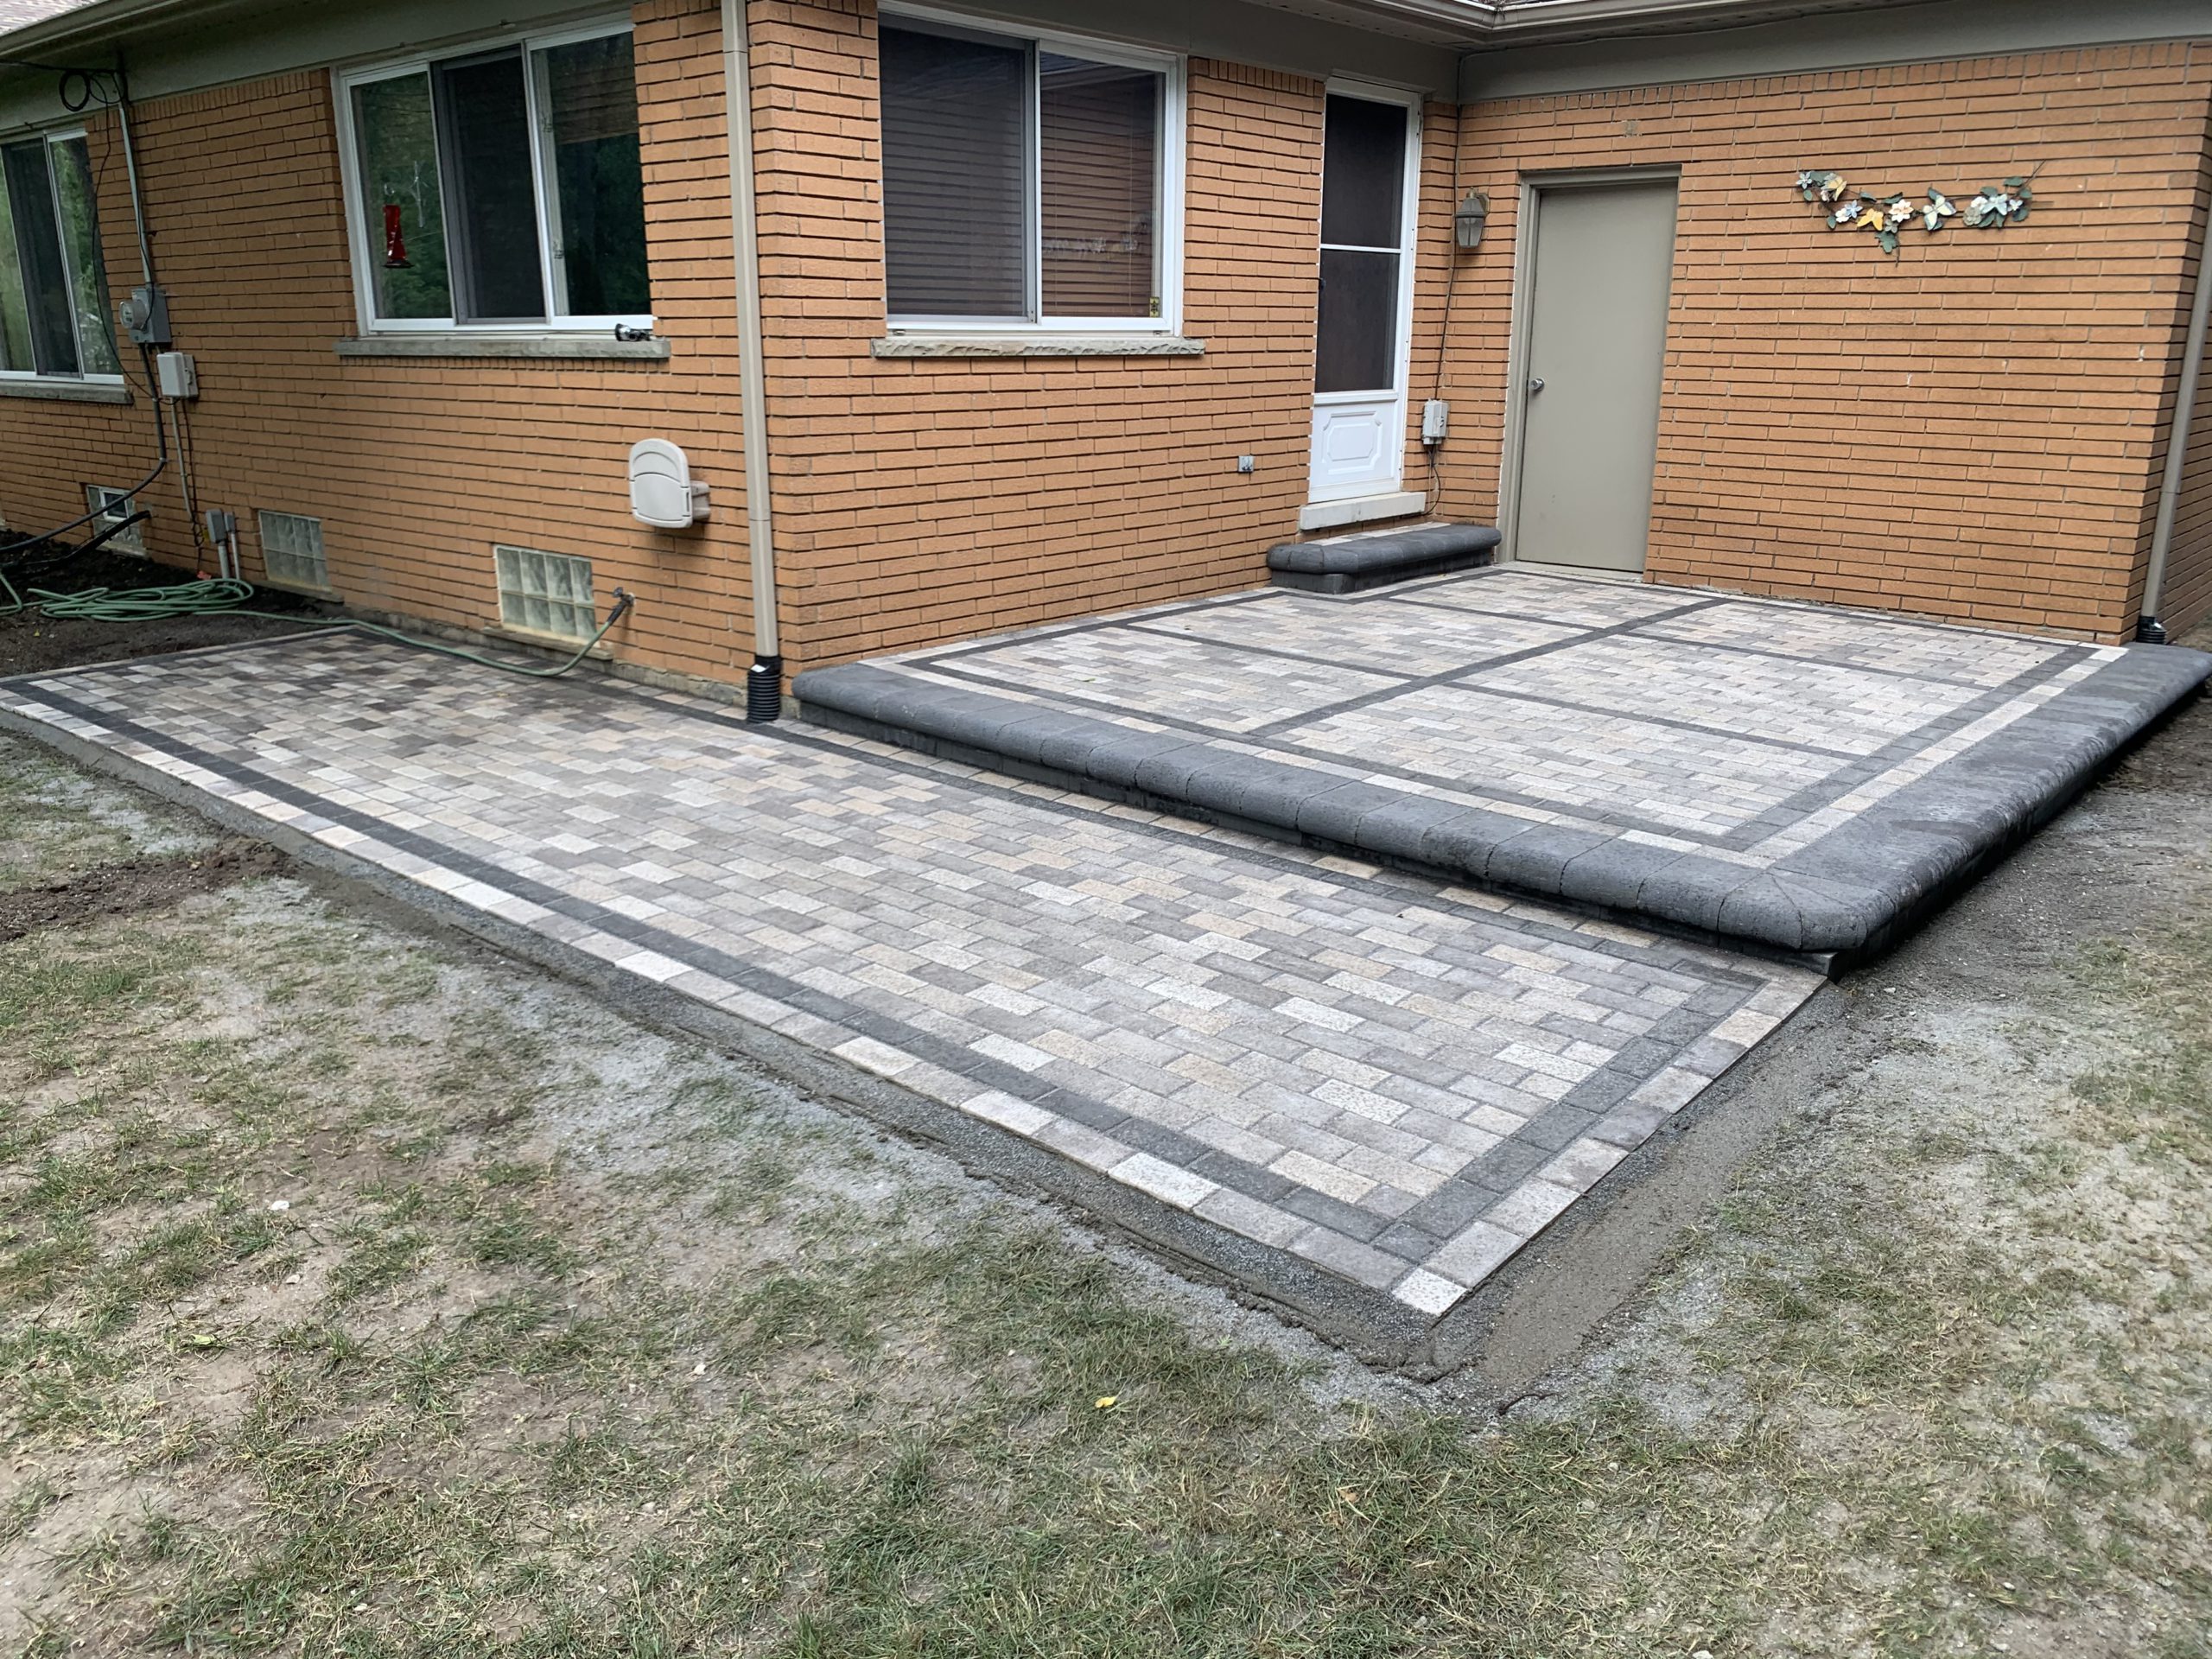
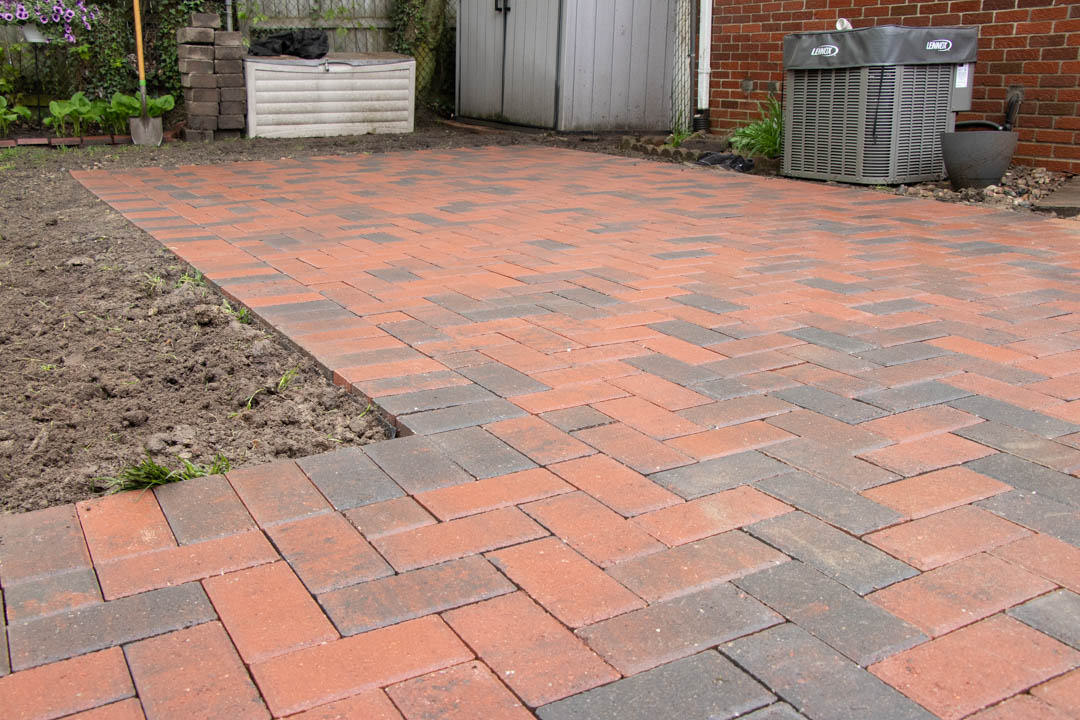
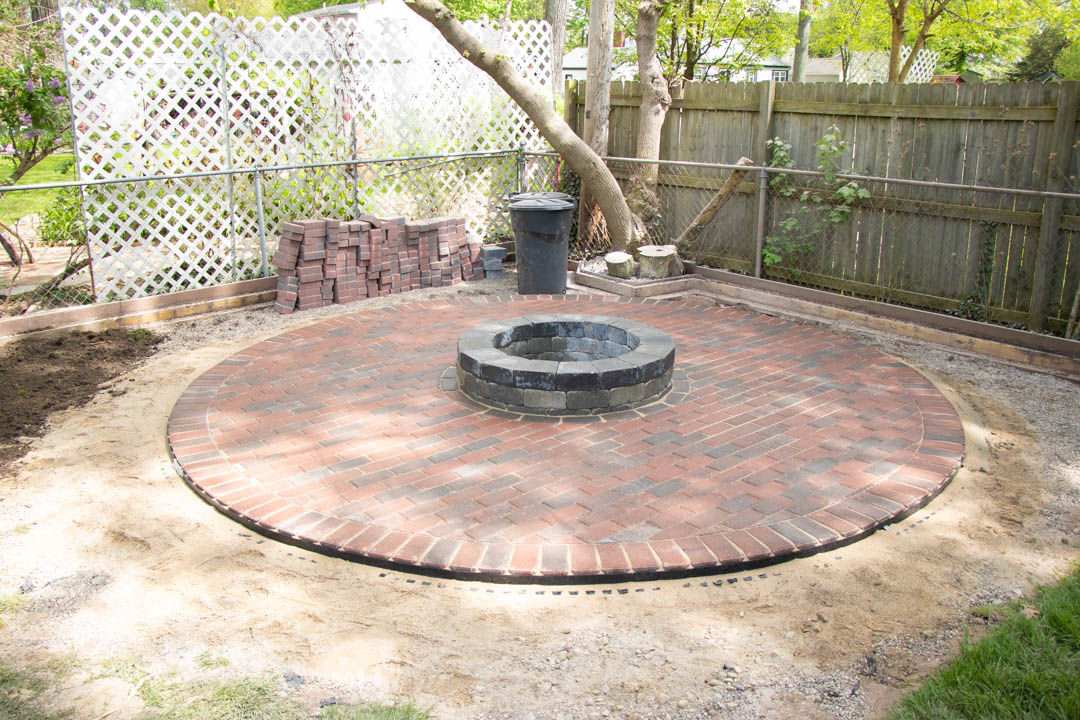
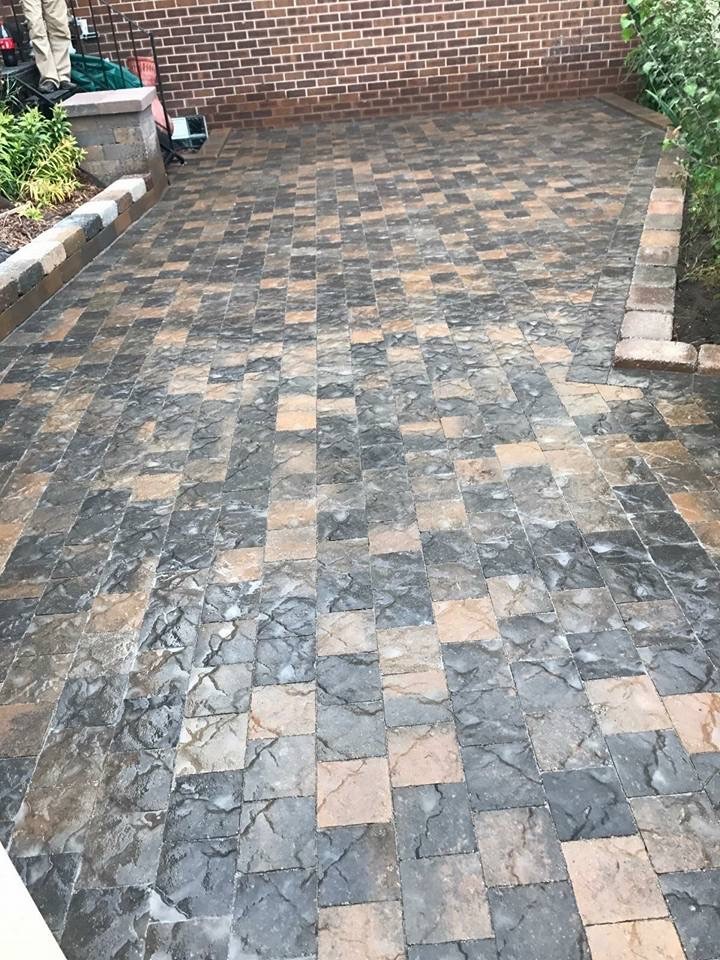
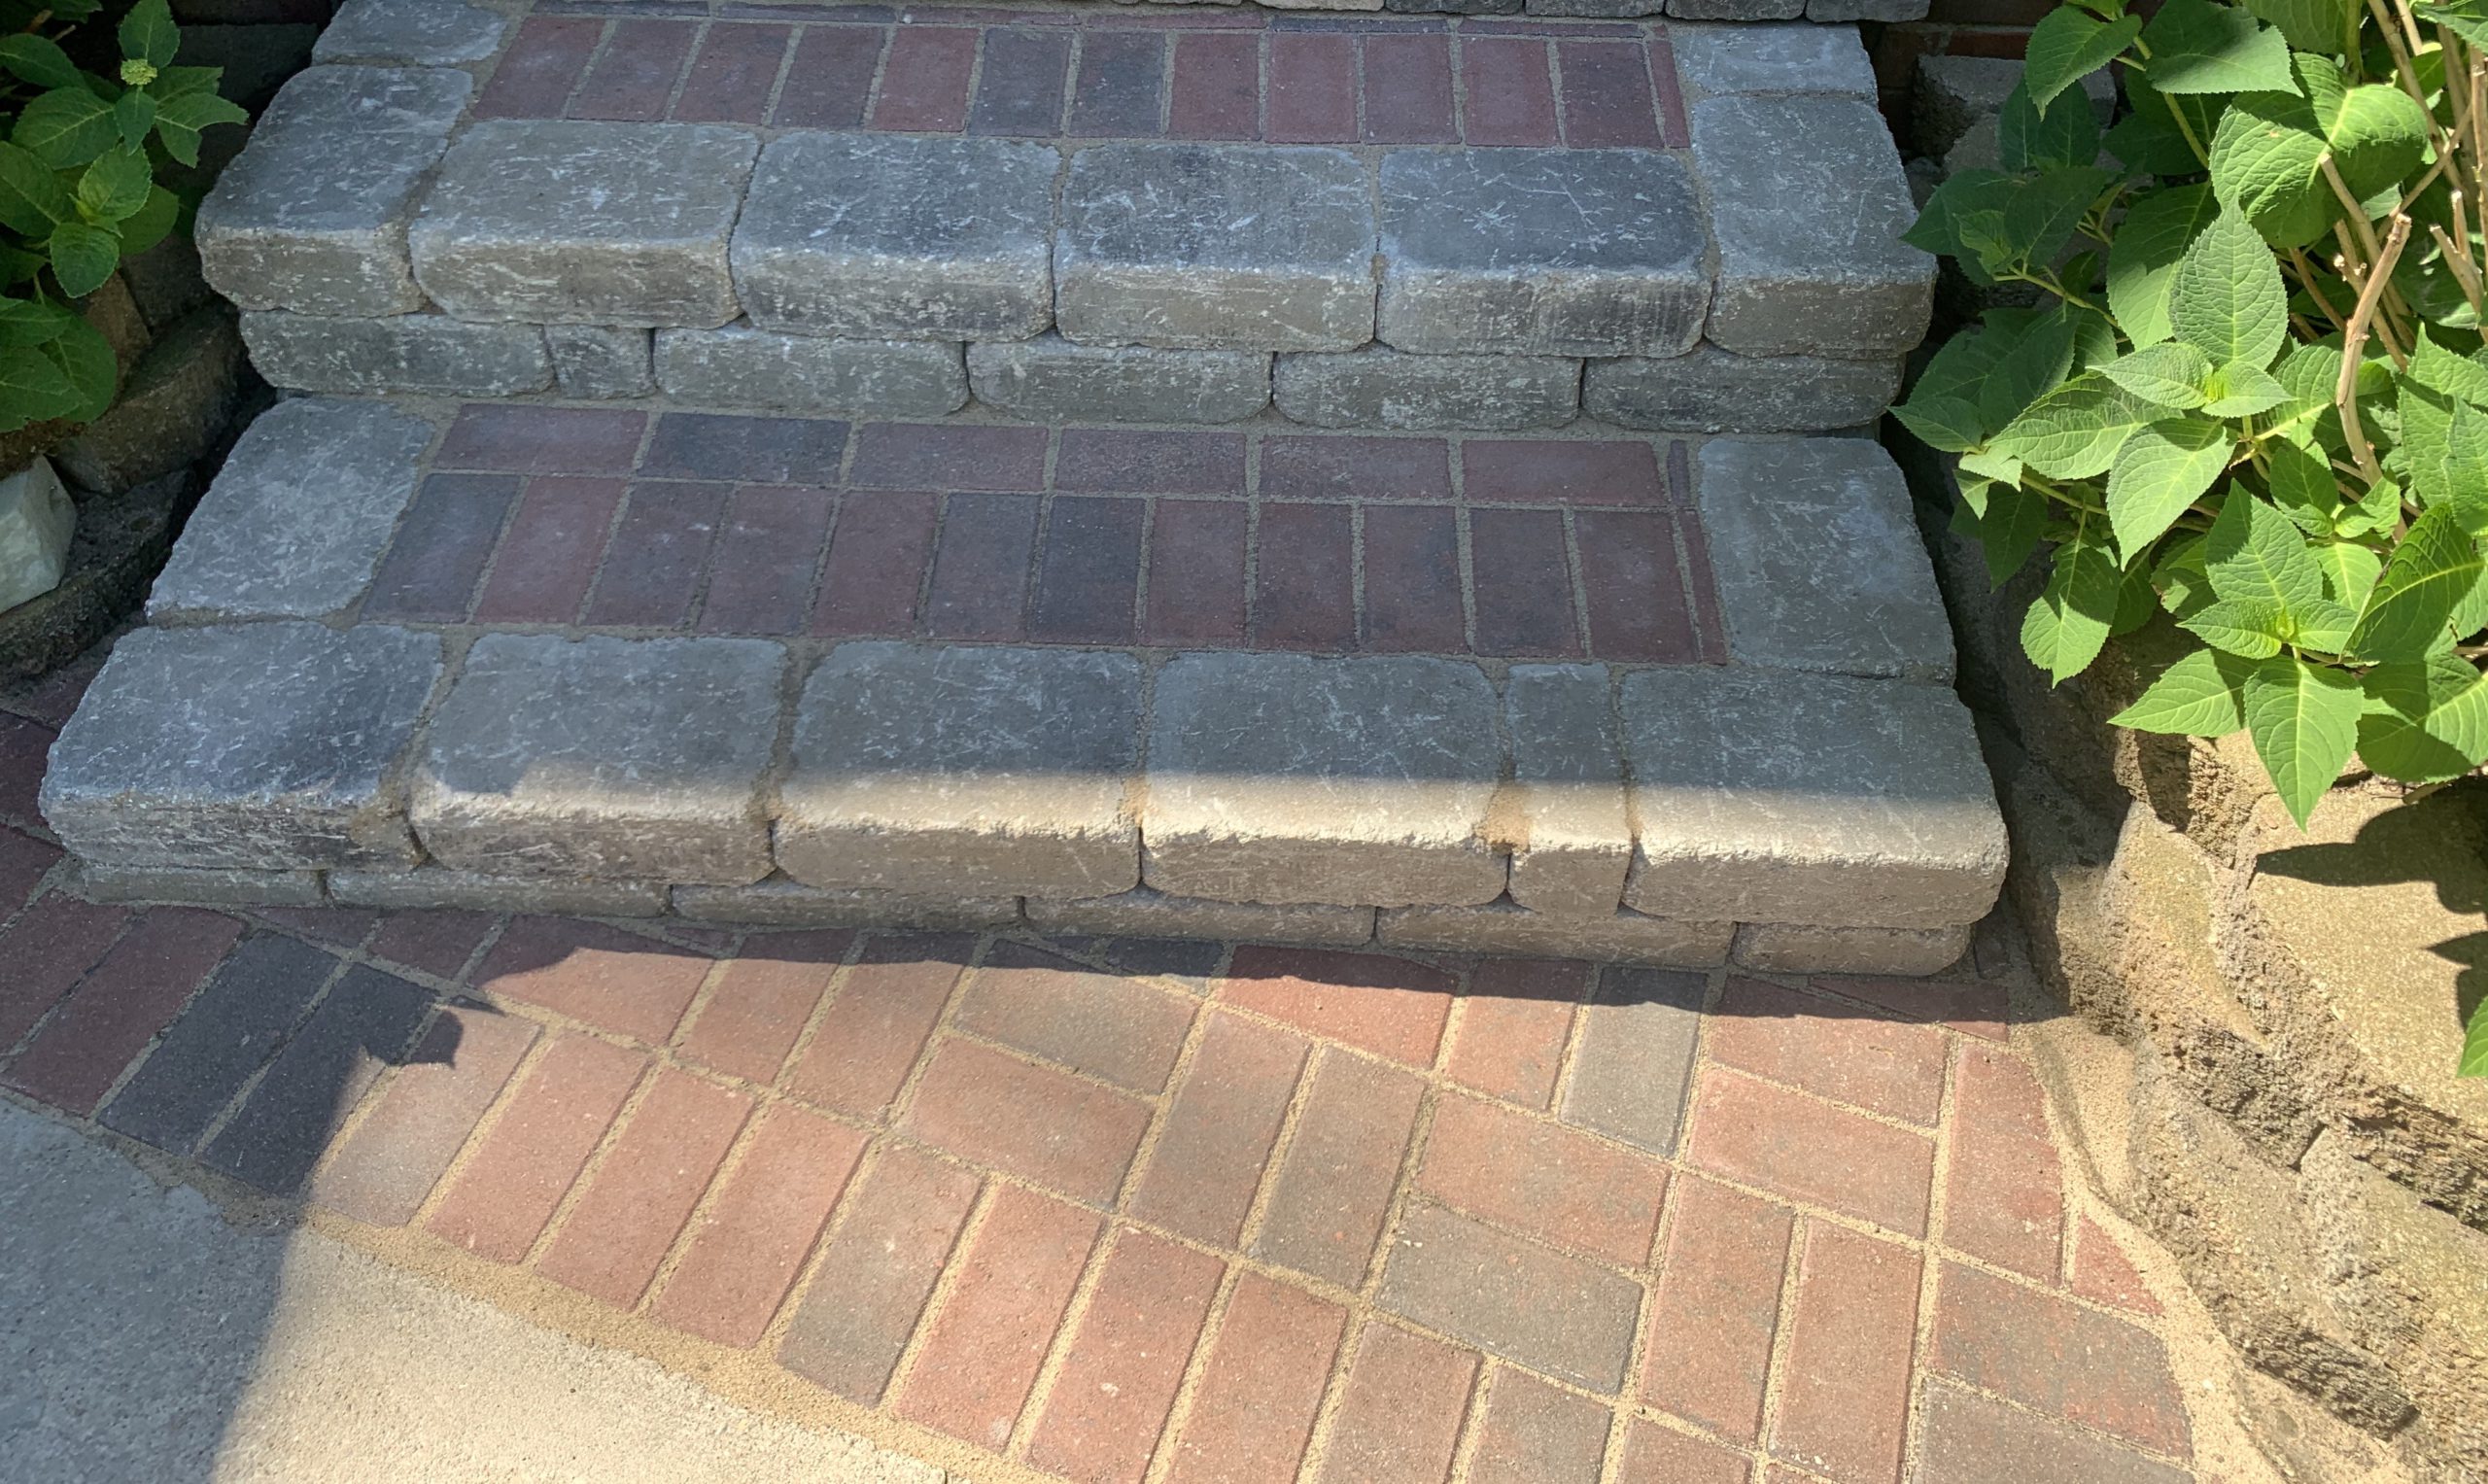
The most popular
patterns are the Running Bond, Herringbone, and the Two by Two (2 vertical 2
horizontal). Using a height string as a guide when laying down the pavers, will
help ensure consistency. Pavers should be laid down in full, prior to making any
cuts -this will ensure tight fitment after making cuts for edging. In terms
of aesthetics, too many cuts reduce the quality of
the finished project. The least number of cuts that are made on a project, the
better it usually looks. A lack of craftsmanship will show once a paver patio is
finished. At the end of the day, when installed correctly; laying down pavers is no
different than completing a puzzle. There is only one way to lay down and
complete a puzzle. There are no imperfections in a puzzle once it is completed. In
the same way that once a paver patio is installed correctly, there shouldn’t be an
excessive number of pavers that were cut down into micro sized pieces to make
everything “fit”. True craftsmanship means knowing exactly how to make all the
pavers fit, using as many full-sized pieces as possible, with the least number of
cuts. You can rely on us to make sure all of these steps are carried out accordingly on every single
project.
Once all the pavers are installed and cut to spec, the next step is to install
the joint sand in between each paver. The best type of sand to withstand freezing
temperatures, is a type of sand called polymeric. Polymeric sand is a unique
mixture of fine sands combined with other additives such as polymers, that bind
together and harden when activated with water. Polymer is the active ingredient
and begins its binding process at the molecular level. The compounding process
that takes place when using a high-grade polymeric sand, forms a physical unity
between all pavers with multiple benefits. It improves durability, deters weeds
from growing between pavers, resistant to ants, and of course aesthetics; there
are many different color patterns to choose from. The sand should be spread
evenly using a push broom. Sweeping in all directions is vital in order to make
sure all crevasses are filled with the sand. The plate compactor should also be
used in this stage. This will ensure the sand particles have a tight bond prior to the
activation process. Prior to setting the sand with water, it is important that the
surface of the pavers be free of sand, because any excess will harden on the
surface of the paver and cause discoloration. Using a leaf blower will help remove
excess sand. Once the surface is completely free of any sand, it is now time to
lightly mist the pavers with a garden hose. The activation process may take
anywhere between 24-48 hours to completely cure/harden. The sands elasticity is
made to expand and contract with the seasons of the year. The longevity of the
sand joints are directly proportionate to installation process and climate.
